Website owners can provide users with an optimized, custom-tailored user experience by remembering their unique preferences and configurations. This traditionally involves using cookies and/or requiring users to log in to retrieve saved preferences, but Fingerprint offers a more effective solution that’s highly accurate — no user actions required.
In this article, we’ll take a look at how Fingerprint works and some of its use cases, followed by a tutorial on implementing dark mode to demonstrate how to remember anonymous users’ cloaked preferences.
What is a browser fingerprint?
A browser fingerprint consists of a combination of data points collected from the user’s device such as browser type, installed hardware, operating system, IP address and more. Once collected, this information is used to create a unique value (i.e., the visitorID) — one that can be stored on the server and associated with the user for future reference.
Why are browser fingerprints useful?
Since they are unique to each user, browser fingerprinting is especially useful in fraud detection (i.e., determining whether a visitor attempting to log in can be trusted). For example, a visitor’s browser fingerprint can be compared to a stored value for a particular login account — if no match is found, they can be asked to complete additional authentication steps before being allowed to proceed.
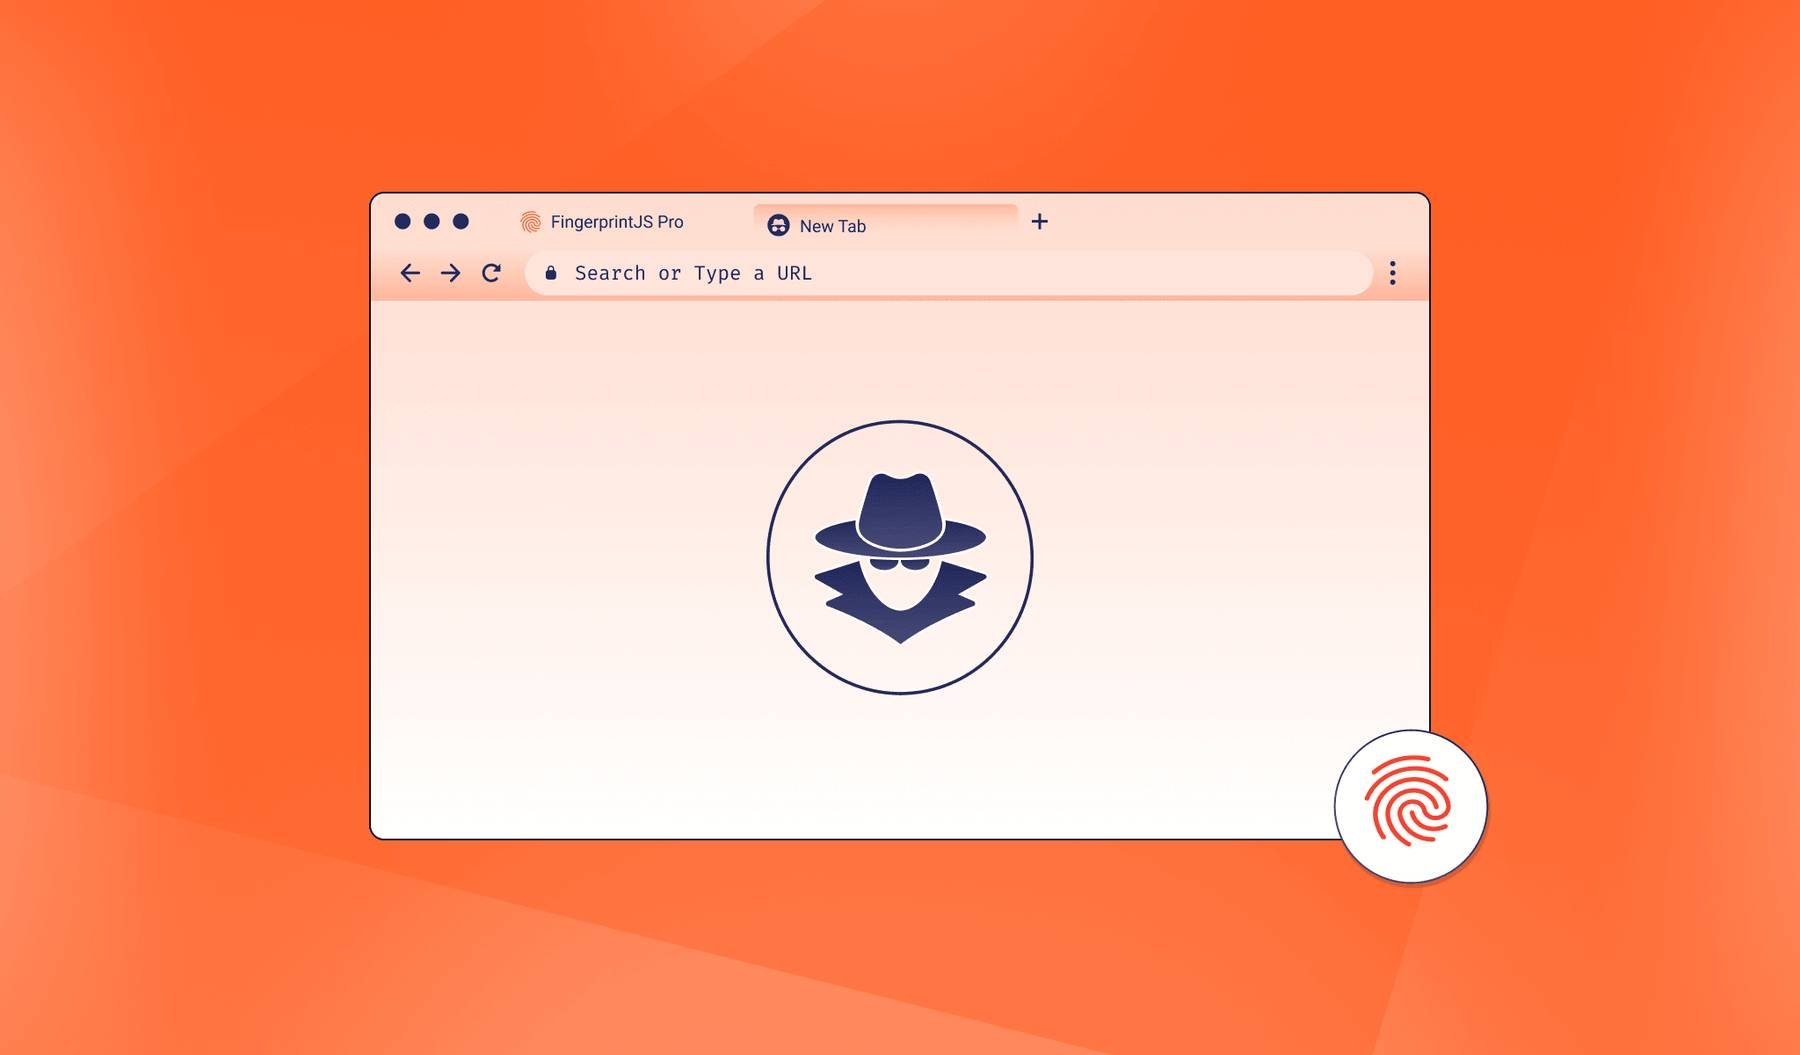
Browser fingerprinting can also be used to prevent other types of abuse like the bypassing of paywalls or overuse/misuse of resources. For example, users limited to a certain number of views can be prevented from further access if they’ve exceeded that threshold. This works even if the visitor’s browser is using incognito mode.
Last but not least, browser fingerprinting can be used to reduce the amount of bot traffic to a website. By requiring untrusted users to complete specific challenges or additional authentication steps, bots can be more readily detected and blocked from further malicious activity.
Implementing dark mode with browser fingerprinting
In this section, we’ll use a sample website built with Next.js to implement dark mode. We’ll then demonstrate how a user’s dark mode preferences can be detected, even when they’re supposed to be anonymous.
Implementing dark mode
Start by cloning this repository:
git clone https://github.com/shahednasser/fingerprinting-tutorial.gitThe repository holds two directories: start and final. If following along with this tutorial, then use the code in start. To just get the final code, you can download it from the final directory.
Go to the start directory and install the dependencies:
cd fingerprinting-tutorial/start
npm install
Next, run the server:
npm run devThe server should start running on localhost:3000. Navigate to this address in your browser to view an initial list of fake posts.
Adding a toggle button
We will need to add a button that toggles dark mode. The library react-dark-mode-toggle provides a nice looking toggle button for this purpose:
npm i react-dark-mode-toggleThen, in pages/index.js add the import to use the toggle button, under the rest of the imports, at the beginning of the file:
import DarkModeToggle from 'react-dark-mode-toggle'Next, at the beginning of the Home component in pages/index.js, add a new state, isDarkMode:
const [isDarkMode, setIsDarkMode] = useState(false)Finally, inside the returned JSX of the Home component, add the following as the direct child of Container:
<Container className='pt-3'>
  <div className='text-end'>
    <DarkModeToggle onChange={setIsDarkMode} checked={isDarkMode} size={80} />
  </div>
  ...
</Container>
Open localhost:3000 again in the browser. You’ll see that the new toggle button has been added to the top right of the page. Try toggling it to see if its appearance changes — nothing should happen, since we have not changed the styling for dark mode.

Implementing dark mode styles
We’ll need to use a class that serves as the selector in our CSS when applying the dark mode styles. The class dark will be added/removed from the body element as the user toggles the button. To accomplish this, add the following code to be executed whenever isDarkMode changes:
useEffect(() => {
  if (isDarkMode) {
    document.body.classList.add('dark')
  } else {
    document.body.classList.remove('dark')
  }
}, [isDarkMode])
Next, add the dark mode styling by changing the web page colors from light to dark:
- Change the color of the background to the color
#353535 - Change the color of the cards to
#282d31 - Change the color of the cards’ footers to
#1c1f23
We’ll also need to change the text color to white throughout the page. To do this, open styles/globals.css and add the following:
.dark {
  background-color: #353535;
}

.dark .card {
  background-color: #282d31;
  color: #fff;
}

.dark .card-footer {
  background-color: #1c1f23 !important;
}

.dark .card-footer .text-muted {
  color: #fff !important;
}
Open the website now and toggle the button. The entire website should switch to dark colors.

Enabling dark mode based on browser fingerprint
The website now allows the user to toggle to dark mode. However, it does not remember what the user’s preference is, so refreshing the page will revert it back to light mode.
In the last section of this tutorial, we’ll use Fingerprint to retrieve the user’s fingerprint or visitorID. We will then send an API request to store that visitorID along with the user’s preferences.
You’ll need to sign up for a Fingerprint Pro account — it’s free for 14 days with unlimited API requests.
We’ll first create the API. The endpoint will be in the format: /api/user/:visitorId/:darkMode.
In Next.js, APIs are created inside /pages/api. Endpoint file names with multiple parameters should follow the format [...paramName].js, where paramName is used to extract the list of parameters.
Create the file pages/api/user/[...slug].js with the following code:
const sqlite3 = require('sqlite3').verbose()

export default function handler(req, res) {
  //get parameters
  const { slug } = req.query
  //get visitor id
  const visitorId = slug[0]
  if (!visitorId) {
    return res.status(400).json({ success: false, message: 'Visitor ID is required' })
  }

  //get SQLite database connection
  const db = new sqlite3.Database('./database/db.db', (err) => {
    if (err) {
      console.error(err)
      return res.status(500).json({ success: false, message: 'An error occurred, please try again later.' })
    }

    //TODO retrieve, insert or update user preference
  })
}
In the preceding block of code, visitorID is retrieved from the query string parameters, followed by the creation of a new database connection.
Next, we’ll query the database for any users matching the visitorID sent in the query string parameters. If none are found, we’ll insert a new record; otherwise, if the request’s method is POST, we’ll update the user’s dark mode preferences. If it’s a GET request, we’ll just return the value in the database.
Replace the TODO comment in the previous code block with the following:
db.get(`SELECT dark_mode FROM users WHERE visitor_id = ?`, [visitorId], (err, row) => {
  if (err) {
    console.error(err)
    return res.status(500).json({ success: false, message: 'An error occurred, please try again later.' })
  }

  if (row) {
    //user is found
    if (req.method === 'POST' && slug.length > 1 && slug[1] != row.darkMode) {
      //update dark mode in database
      const darkMode = slug[1]
      db.run(`UPDATE users SET dark_mode = ? WHERE visitor_id = ?`, [darkMode, visitorId], function (err) {
        if (err) {
          console.error(err)
          return res.status(500).json({ success: false, message: 'An error occurred, please try again later.' })
        }

        return res.status(200).json({ success: true, darkMode })
      })
    } else {
      //return dark mode value found in database
      return res.status(200).json({ success: true, darkMode: row.dark_mode })
    }
  } else {
    //visitor does not exist, insert
    const darkMode = slug.length > 1 ? slug[1] : 0
    db.run(`INSERT INTO users(visitor_id, dark_mode) VALUES (?, ?)`, [visitorId, darkMode], function (err) {
      if (err) {
        console.error(err)
        return res.status(500).json({ success: false, message: 'An error occurred, please try again later.' })
      }

      return res.status(200).json({ success: true, darkMode })
    })
  }
})
Using this new API endpoint, we can retrieve or update the user’s dark mode preference using their visitorID.
We’ll need to update the page containing the dark mode toggle button. First, add a new state variable in the beginning of the Home component to manage the visitor’s ID:
const [visitorId, setVisitorId] = useState(null)Then, change the useEffect function (the one that we used earlier to add or remove the dark class) to the following:
useEffect(() => {
  if (!visitorId) {
    //TODO get the visitor's fingerprint
  } else {
    if (isDarkMode) {
      document.body.classList.add('dark')
    } else {
      document.body.classList.remove('dark')
    }
    //TODO send a POST request to the endpoint to save preference
  }
}, [isDarkMode, visitorId])
If the visitorID state is not set, we’ll need to retrieve the browser fingerprint of the user. To do this, first install Fingerprint as a dependency:
npm install @fingerprintjs/fingerprintjs-proThen, import the library at the beginning of pages/index.js:
import Fingerprint from '@fingerprintjs/fingerprintjs-pro'Replace the first TODO in the useEffect callback function with the following:
const fpPromise = FingerprintJS.load({ apiKey: 'your-public-api-key' })

fpPromise
  .then((fp) => fp.get())
  .then((result) => {
    console.log(result.visitorId)
    //TODO sent request to the endpoint to retrieve preference
  })
If you don’t know the value of your public API key, go to your Fingerprint Dashboard, choose API Keys from the sidebar, then copy the value for type Public.
Note: Requests to the Fingerprint API may be blocked from a local origin such as localhost. Learn more about Request Filtering to allow requests from development environments.
Next, you'll send the request to the endpoint created earlier. To do that, install axios as a dependency:
npm i axiosThen, in pages/index.js, import Axios at the beginning of the file:
import axios from 'axios'Then, add the following code in place of the TODO in the previous code block:
axios
  .get(`/api/user/${result.visitorId}/${isDarkMode ? 1 : 0}`)
  .then((response) => {
    const responseData = response.data
    if (responseData.hasOwnProperty('darkMode')) {
      setVisitorId(result.visitorId)
      setIsDarkMode(responseData.darkMode == 1)
    }
  })
  .catch((err) => {
    console.error(err)
  })
This will send the request to the endpoint with the visitor ID and current dark mode setting, setting the visitorID and darkMode states.
Lastly, replace the second TODO in the callback of useEffect with code that updates the user’s dark mode preferences via a POST request to the API:
else {
  if (isDarkMode) {
    document.body.classList.add('dark')
  } else {
    document.body.classList.remove('dark')
  }
  axios.post(`/api/user/${visitorId}/${isDarkMode ? 1 : 0}`)
    .catch(err => console.error(err))
}
You can test it out by opening the website and toggling dark mode. If you refresh the page, you’ll see that dark mode is enabled automatically. You can also try it in incognito or Guest mode on Chrome. Fingerprint will still be able to identify the user, which will allow our server to change to dark mode on the basis of the user’s preference. However if you try to load the page in a different browser, you will likely find that your preferences are not stored.
Conclusion
If you need to uniquely identify your users in a variety of use cases, consider browser fingerprinting. Fingerprinting is also helpful in detecting fraud and bots, or storing and remembering users’ preferences even when they are anonymous to your system.